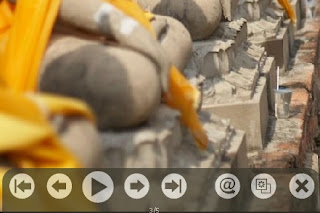
 The TripTracker slideshow is a lightweight JavaScript image viewer with an animated slideshow feature.
The viewer is free to use in personal or commercial web pages, provided that the script is not sold or exchanged for profit. An unbranded version of the slideshow, suitable also for resale, may be purchased for a one-time per-site license fee.
Steps to Add it to Blogger:
1.Login to the Blogger account.
2.Go to the Post/Page you want to add TripTracker Slideshow and go to Edit HTML tab .
3.Now copy the code from below and paste it there.
<script type="text/javascript" charset="utf-8" src="http://dl.dropbox.com/u/27675057/TripTracker/slide.js"></script>
<script type="text/javascript">
    <!--
      var viewer = new PhotoViewer();
      viewer.add('1.jpg'); /* Includes all the images to be displayed in the Slideshow */
    //-->
    </script>
<style type="text/css">
@import url(http://dl.dropbox.com/u/27675057/TripTracker/style.css);
</style>
4.Now for adding the images into TripTracker Slideshow ,Firstly add the image normally using Insert Image button
Now When you see the code in the edit HTMLwindow it would be something like this
| <a href="large3.jpg"><img border="0" height="90" src="/small3.jpg" width="120" /></a> |
Make it like this
<a href="large.jpg" onclick="return viewer.show(0)">
<img width="70" height="70" src="small.jpg" alt="" /> </a>
As you can see we added only a onclick="return viewer.show(0)" tag
After this you also have to ,subsequently add a piece of code in the JavaScript snippet included at the top
<script type="text/javascript">
<!--
var viewer = new PhotoViewer();
viewer.add('large.jpg');
//-->
</script>
5.Now save the Post/Page and see the magic.
Note: Please Host all the files on free hosting service like DropBox or Blogspot itself !
Another Important thing to note is that all the images used in this tutorial like Next button ,Previous button ,etc are all hosted on Google Code service which are the fastest and most reliable servers on the internet with the least downtime.So you can easily implement this with no hassles for Image Hosting.
Another Important thing to note is that all the images used in this tutorial like Next button ,Previous button ,etc are all hosted on Google Code service which are the fastest and most reliable servers on the internet with the least downtime.So you can easily implement this with no hassles for Image Hosting.


0 comments:
Post a Comment