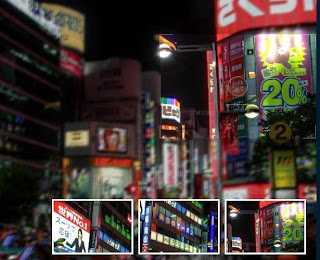
 Photoshoot plugin, which requires at least the jQuery version 1.3.2 as the basis of its functionality ,is just 4KB creates a very special big photo shoot effect, by which one can relate to working with a camera. Photoshoot offers some modifiable features to the user like blur and opacity.
Developed by Martin Angelov, Photoshoot plugin for jQuery is very simple to understand and implement
Note:It is recommended that you use this plugin in the Static Pages only because it interferes with the CSS of the Blogger templates.
.

Steps to Add it to Blogger:
1.Login to the Blogger account
2.Go to the Post/Page you want to add Photoshoot and then go to Edit HTML tab .

3.Now copy the code from below and paste it there.
<link rel="stylesheet" type="text/css" href="http://dl.dropbox.com/u/27675057/photoShoot/styles.css" />

<link rel="stylesheet" type="text/css" href="http://dl.dropbox.com/u/27675057/photoShoot/jquery.photoShoot-1.0.css" />

<script type="text/javascript" src="http://ajax.googleapis.com/ajax/libs/jquery/1.3.2/jquery.min.js"></script>

<script type="text/javascript" src="http://dl.dropbox.com/u/27675057/photoShoot/jquery.photoShoot-1.0.js"></script>

<script type="text/javascript" src="http://dl.dropbox.com/u/27675057/photoShoot/script.js"></script>
4.To add images into this Plugin you have to open script.js ( Mainly this plugin allows multiple images to be added and the script.js contains the path to all these images .It then randomizes which image load if multiple paths are detected by it)
After opening script.js It would look something like this
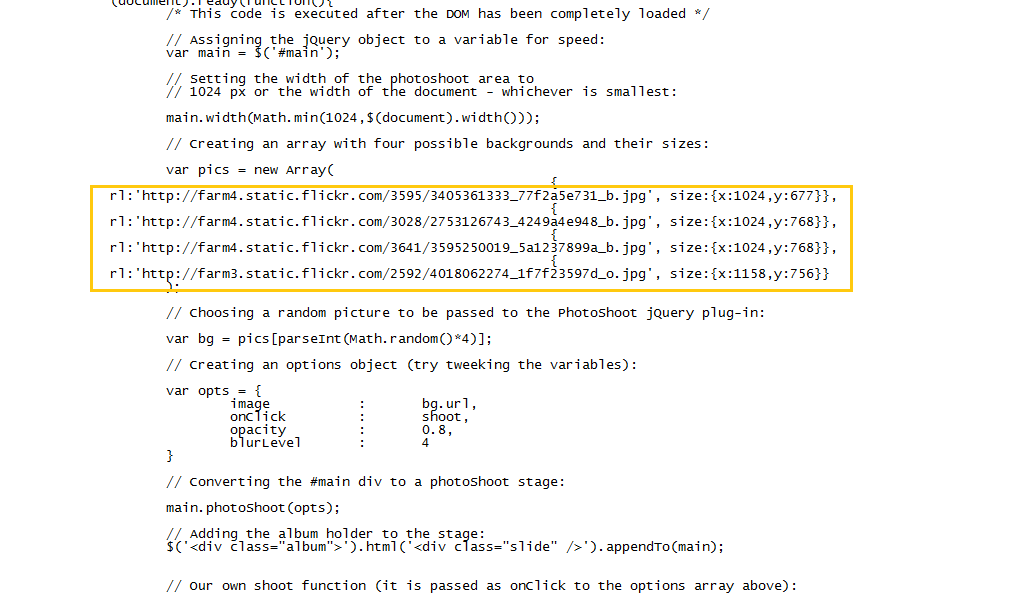
In the above image you see that the Orange box contains the links to the images ,you can change these according to your choice
Now to add the image just decalre the following code and the rest will be taken care:
<div id="main">

</div>
5.Now save the Post/Page.
Note: Please Host all the files on free hosting service like DropBox or Blogspot itself!
Another Important thing to note is that all the images used in this tutorial like Next button ,Previous button ,etc are all hosted on Google Code service which are the fastest and most reliable servers on the internet with the least downtime.So you can easily implement this with no hassles for Image Hosting.


0 comments:
Post a Comment