 Related Posts are conventionally shown at the end of a article to present interested readers with a choice of reading other similar stories to the one they just read. In Blogger there are no official widget for this purpose so you will have to rely on third party services or a simple JavaScript hack. In this post we will be discussing a step-by-step guide on how to integrate the OutBrain Related posts widget into your blog. Also with a bit of CSS we will make them look better.
Lets get started:
1. Go to Outbrain.com and click the Register button on the upper right.

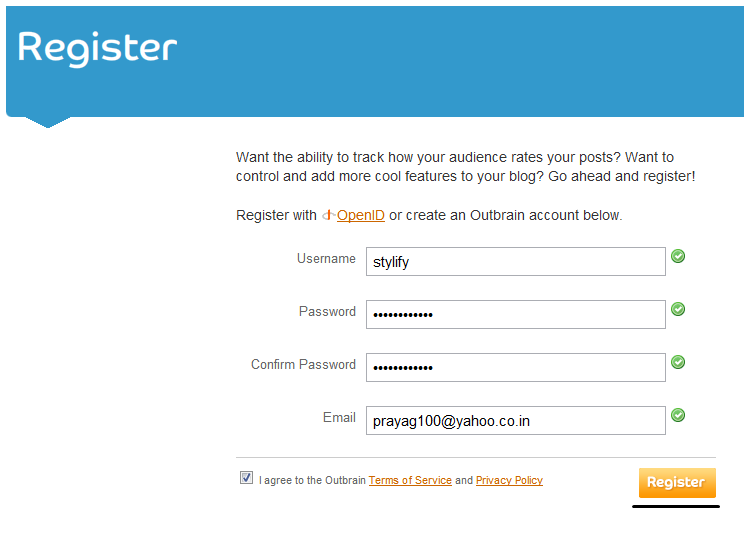
2. On the Registration page ,add all the relevant details and click the Register button
3. Now you will be asked to confirm your email

4. After confirming you will be redirected to the Dashboard , here in the left side, select the Manage Blog option and after that click the Add a Blog button

5. Now you will be asked information about your blog ,its platform (In this case set it to Blogger ) , its URL ,language ,etc.

Note: Make sure to set the Install widget option to Yes
6. After clicking the Continue button you will be presented with a option to Add the widget to your blog. Select your blog and click the Add Widget button
Pro Tip: By default the widget is added to all the pages in your blog including your HomePage. In case you want the widget to only appear in the Post pages then add the following code in the Edit Template option as shown in the image below
<b:includable id='main'>
<b:if cond='data:blog.pageType == "item"'>
<data:content />
</b:if>
</b:includable>

7. The widget is installed but you will have to wait around 3-4 hours for OutBrain to index your posts and then only will they start displaying in below your a blog posts. Until then you can customize your widget by going to the Outbrain Dashboard > Manage Blog > Settings ( of the blog )

Enhancements
The widget you added gives such a formal and dull look which will in no way interest readers to click on these links. Lets Stylify it a bit using some CSS !
Rounded Edges
The square shapes are a bit too standard , lets round things up
#ob_strip_container_rel_0_stripBox .strip-rec-link-img , #ob_strip_container_rel_0_stripBox .strip-img {border-radius: 100px !important;}Removing attribution
Under each widget a link is added to the Outbrain service. To remove it add
.what_is_container{display:none !important;}Changing Title Font
The "You might Like" font is a standard font , you can easily change it to another font by
Adding background
As you might observe that I have added a background to this blogs related post widget , you can do the same with the following
Note: You might have to adjust the background a bit using padding and margin CSS property to make sure that it aligns well .
Over to you
Facing any problems while implementing this widget or have some nice trick to share. Feel free to ask/share them using the comments below
.strip-like {
font-family: FONT-OF-YOUR-CHOICE ;
font-weight: normal !important;
}As you might observe that I have added a background to this blogs related post widget , you can do the same with the following
#outbrain_widget_0 {
background: url('https://blogger.googleusercontent.com/img/b/R29vZ2xl/AVvXsEgnlnu3GmIkr3mGMrF3SrX4iz8a8dTcNqMr-DMCWIbGVFdbL7YsxM3VTUFRWmO2p4Hy-ecsEJSUEFfDalnN-ooYoR4tgXqE4zubO1GqLftXFkBmLkTTb1LbIcSwP7rEySz48oSQc2pOsjGe/s1600/pattern.png');
}
Note: You might have to adjust the background a bit using padding and margin CSS property to make sure that it aligns well .
Over to you
Facing any problems while implementing this widget or have some nice trick to share. Feel free to ask/share them using the comments below


1 comments:
Hey! I still got problems with CSS customization. It seems it doesn't work. I am applying the code but nothing happens. What might be wrong?
Post a Comment